Showing posts with label quilt pattern. Show all posts

Friday, December 2, 2016

Quilters DNA

It's no secret that I love designing quilt patterns and I especially love paper piecing. If I can't paper piece it, I better really love the pattern or design in order to make the quilt. Often I start designing my patterns by doodling on a piece of paper and move to the computer to see how it would look as a real quilt. That's how this quilt came about. I just started sketching and throwing lines on a piece of paper and fell in love. Introducing Quilters DNA!

I love this quilt. The colors, the jewel tones, are so me. Teal is my absolute favorite color. Add some purples, lime and orange and this quilt just screams me. The geometric design and paper pieced elements also scream me. Combined, I'm pretty sure this quilt is a depiction of my own, personal DNA.

It took me a while to figure out how to quilt this. I did some "point-to-point" style quilting in the "DNA Strands" to keep things simple. I didn't want to overwhelm the design. For the vanilla background, I emphasizing the diamond shape inside the strands while adding a ton of straight lines in the background.

And while it was next to impossible to photograph, I did extend the orange strands into the background, adding a fun quilting motif to break up the negative space. I love this design feature and think it gives this quilt just a little something extra that it needs.

If interested, I created a pattern for this and posted it in my Craftsy shop. Check it out today!

Fabric: Michael Miller Cotton Couture
Thread: Pieced using Aurifil #50 2024. Quilted using So Fine! #50 505
Batting: Quilters Dream Cotton Select
Finished Size: 68.5" x 62"

Tuesday, June 23, 2015

Spin Art

About a year and a half ago I designed this fun paper pieced quilt that some of you might have seen hanging in the Michael Miller booth at QuiltCon and Quilt Market earlier this year. I was obsessed with the color coral when I made this quilt and just had to incorporate the two shades of coral and soft blue into a quilt. I might have to make another quilt using coral and mint sometime soon, my new favorite color to pair with coral. 


This quilt is made using Michael Miller Cotton Couture solids, my favorite solids to work with. I just find their hand-feel to be so soft and a pleasure to work with. This quilt uses the colors Clementine, Peach, Vanilla and Powder Blue. The clementine color has to be one of my favorites still that Michael Miller puts out. That's saying a lot given that my least favorite color of all time is orange (followed closely by brown). 

I quilted it on my HandiQuilter longer using SoFine #50 thread. It's been so long since I quilted it, but I'm pretty sure I used #402, a soft white. 

The free pattern for this quilt will be posted to the Michael Miller website soon. And of course, it's paper pieced for easy assembly! 

Wednesday, April 9, 2014

Shootin' The Breeze Pattern

After receiving a couple of requests, I have created a pattern for my 'Shootin' The Breeze' quilt. This was the quilt I designed for the Riley Blake Challenge put on by the MQG. It's a fairly easy paper pieced quilt that goes together rather quick.


For a limited time only, I'm offering the Shootin' The Breeze pattern at 25% off, so hop on over to Craftsy now to get your pattern. 


Friday, February 28, 2014

Twirling Trellis

I'm finally sharing a few pictures of my Twirling Trellis quilt, featured in the current issue of Modern Quilts Unlimited.

This is one of my favorite quilts ever. It was so fun to design, piece and quilt. I think the thing that I enjoy most about this quilt is that I didn't expand the pinwheel's into the outside white sections. It just adds another layer of interest.

Like so many of my quilts, this one is foundation pieced. This one is the perfect size for a wall hanging or a table topper.
This was the first quilt that I tried ruler work on my longarm. I stitched in the ditch around the yellow and pink, and did some ruler work in the lime green.

This quilt was made entirely of Michael Miller Cotton Couture solids. I find that the Michael Miller solids have such a nice, soft hand feel. They're one of my favorite solids to work with. 

Wednesday, November 20, 2013

Framed Up - McCall's Quilting January/February 2014

Last night I arrived home and found a quilt on my doorstep. Not just any quilt, it was my Framed Up quilt that I had finished in January and sent off to McCall's Quilting this summer to be featured in their January/February 2014 issue. That's right, I have a quilt in McCall's Quilting Magazine!
 
I originally designed and made this quilt last year, sending it off to the talented Angela Walters to machine quilt it for me. I knew I wanted to try and get this pattern published, so I held off sharing it on my blog. Problem is, I wasn't really sure about how to go about submitting it. Luckily, QuiltCon was right around the corner and there was a session on submitting to magazines!

I sent of my submission to McCall's shortly after returning from QuiltCon. Why McCall's, well it was the first magazine I subscribed to 11 or 12 years ago when I first started quilting. But I also submitted quilts to other magazines over the next few months. Some were accepted and others weren't. Why am I telling you this? To encourage everyone that's thinking about submitting a quilt to a show or magazine to do it if you really want. Not every quilt is meant for every show or magazine. But when it's the right fit, it's an awesome feeling.

Regular readers of my blog know that I love paper piecing, so of course this quilt is paper pieced. I would consider this an intermediate paper pieced pattern for those that know how to paper piece. There are a number of points that you need to line up when piecing blocks together, but that's pretty much the most difficult part.


I gave Angela pretty much free reign when quilting this quilt. I don't know about you, but I think she did a really great job.


The folks at McCall's agreed and included another page, in addition to the pattern, talking all about the quilting.

In addition, Quilters Newsletter posted a recent video on Modern Quilting, which featured Framed Up as one of the examples. Check out the video below. They begin talking about Framed Up at the 4:30 mark.


This issue of McCall's Quilting hits newsstands next week, but if you have a subscription, it should be in your mailbox any day if you haven't already received it. 

Tuesday, November 12, 2013

Enchanted Evergreens Quilt

I'm excited to introduce you to Enchanted Evergreens, a quilt I designed for the Christmas issue of Fat Quarterly.


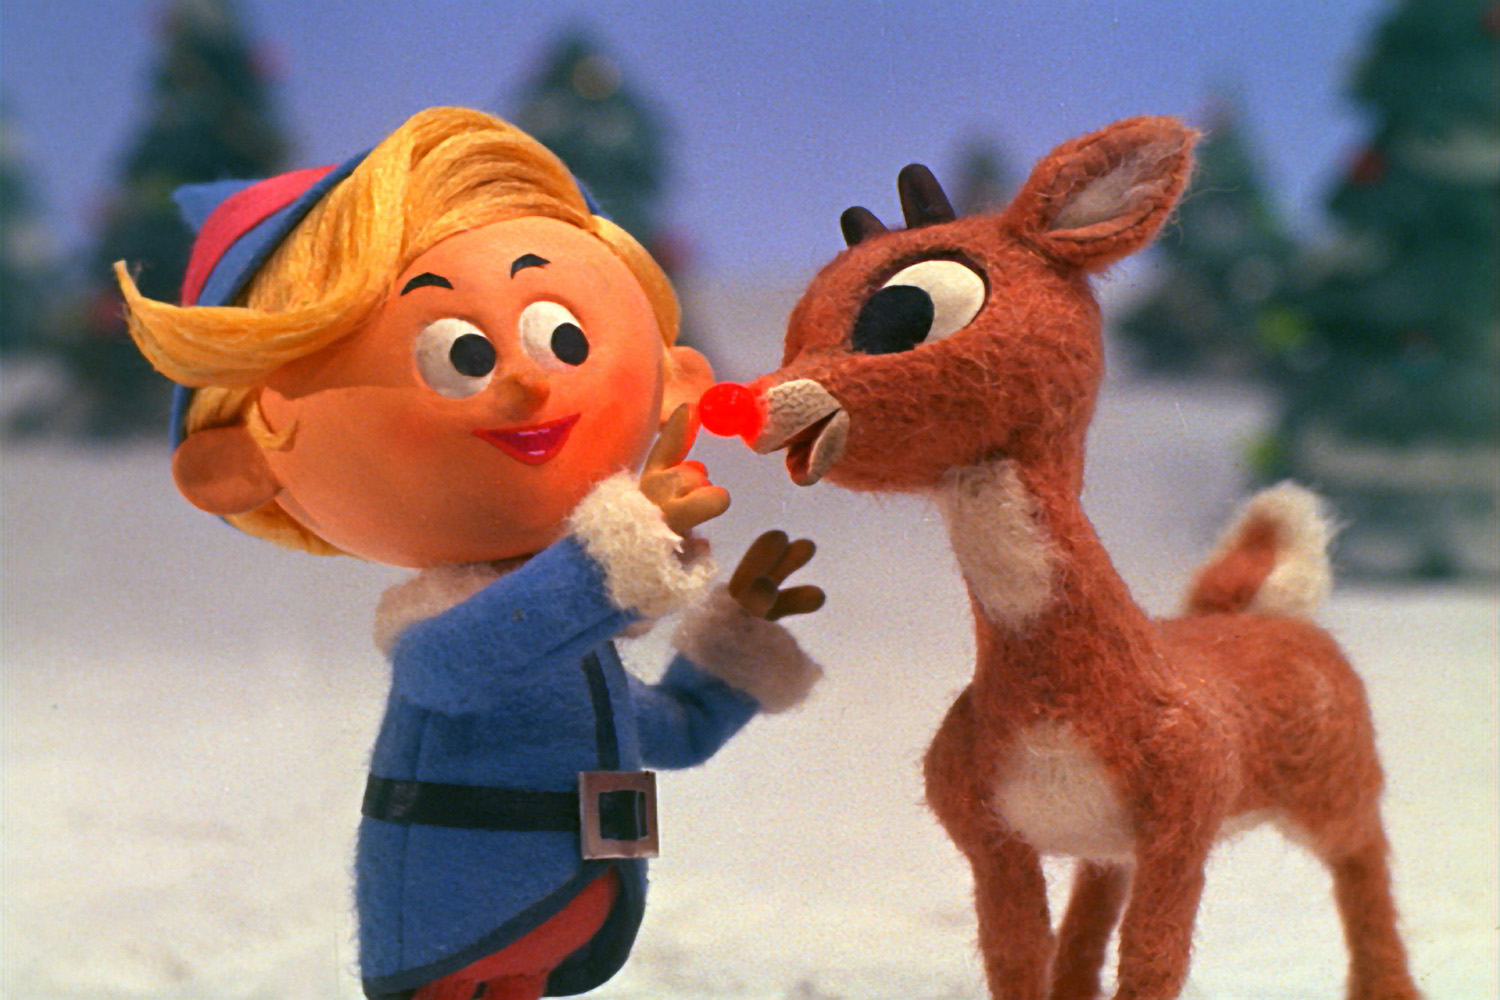
I was inspired by the Christmas movies of the 60's with the random Christmas trees randomly placed around the set to create a Christmas forest.


I had some major help making this quilt. Karen, my aunt, lovingly pieced the top for me while I finished up a few other projects at the same time.


The blocks go together pretty easily, making this quilt the perfect project for the beginner/intermediate quilter to throw together before Christmas. All you need is a ruler with a 60* line, or a 60* ruler such as the Hex N More ruler to make those triangles.


I quilted this quilt on my longarm in rows of random loops, which look like Christmas ornaments to me.

If you're interested, head on over to Fat Quarterly and get yourself the latest issue. Having personally looked through the issue, I can say that there are a number of other great patterns.

Enchanted Evergreens
75.5" x 91"
Fabric: Aspen Frost by BasicGrey
Thread: So Fine #50! Barely Mint
Batting: Quilters Dream Cotton

Monday, November 11, 2013

Fat Quarterly Sneak Peek

Tomorrow the Christmas issue of Fat Quarterly comes out featuring my Enchanted Evergreens quilt.

Here's a sneak peak of the quilt (top right). Come back tomorrow to see the quilt and learn more about the inspiration behind it. 

Wednesday, December 31, 2008

Finished Braid Quilt


So I finished the top of the braid quilt I started on Sunday with KK (the one using the jelly roll). Yay!  It's always exciting to see a completed quilt top.  There are several things I would do differently if I had to do it again, but I was more focused on working with fabrics that I had, which I did a good job of doing.

The main thing I would do differently would be to change the color of the pink that's in between the braid and the inner border.  I wish I had used a light pink instead of the deep pink.  

The problem is that there isn't enough contrast between the pink, the purple inner border, and the actual border.  I had the same issue with a stained glass quilt I made several years ago.  I think the real problem is that I love these colors so much together (because I had the same issue with the same colors) that I don't look past the colors to the tones of them. See... the only that that really stands out in that quilt is the bright yellow.  

Don't get me wrong, it doesn't look horrible.  It's a beautiful quilt, I would just do something differently next time.  

I did enjoy using up some fabrics from my stash.  I didn't purchase a single fabric for this quilt.  It was made entirely with fabric that I had in my stash (ok, so I bought the fabric in the stash, but I didn't buy the fabric recently) and a jelly roll that my husband, Corey, gave me for
 Christmas.  It involved improvising on some of the dimensions, but what fun is quilting if you always follow all the directions.  It's like cooking, I almost never follow recipes.  I always add a little of this and a little of that... you get the idea.

One of the things that I did differently (from the pattern that is-pictured left taken from quiltersway.biz) was that I changed the width of the first inner border around the braids.  The pattern called for it to be cut 3" just like the width of the "sashing" in between the braids.  I didn't have enough fabric to go all the way around at 3", so I cut the fabric to 2".  I think it still came out well.  I really wanted to make the braids appear as though they were floating by using the same fabric for the sashing and first inner border.  It took the entire yard of fabric that I had for this.  The original pattern called for a yard and a half.  This just g
oes to show you how you don't always have to follow the directions exactly and that you don't have to be afraid of a pattern because you don't have enough fabric.

The other thing that I did differently was adding the second inner border.  The pattern didn't call for it, but I thought it was a nice touch.  I also think it helped to add some contrast between the first border and the final outer border.  It wouldn't have looked as good if I had just added the border like the pattern called for.  

In the end, it was fun playing with a jelly roll.  I would do it again.  This was a pretty large quilt (about 85" tall), much larger than many of the ones I've been making lately.  I'm not so sure if I'm going to be able to quilt this myself.  It might be too big to do on a standard sewing machine.  
It might need to be done on a long arm.  We'll see.  I have a bunch of other quilts that I still need to machine quilt.  I need to take some time to get some of them done instead of continuing to make the tops. 

That's all for now, it's off to go have a nice new years eve dinner with the hubs (and possibly do some more quilting while we wait for the ball to drop together).  See you in 2009!