Wednesday, May 30, 2012

Back in Business - Final Around the World Border

Well, I'm back.  I spent all of last week in Las Vegas for work, and man was I exhausted when I returned.  My company (high tech industry) hosted its annual user conference with more than 15,000 attendees.  As some of you may know, I work in public relations at the company, and as part of the event, we hosted 130 journalists from around the world.  We announced 42 new products last week alone.  Talk about a crazy week.

I finally spent some time when I got back finishing the border of the last around the world quilt. 
I added the flying geese to the corners of the border.  I really like how it came out here.  This quilt will go back to my aunt KK the next time I see her. 
And yes, those geese are paper pieced.  I couldn't get away with not doing some form of paper piecing on one of these quilts.  I had been wanting to do flying geese on one of these as well and was happy when this one seemed to call for it. 

I can't wait to see mine. 

I can now return to my regularly scheduled sewing (well, for the next week - before my in-laws grace us with their presence for 17 days.  No complaint, I love my in-laws, I just love sewing too). 

Wednesday, May 23, 2012

Twister Featured on Quilt Story

My twister quilt is featured on Quilt Story today!


I was honored when Heather and Megan asked me if they could feature my twister quilt on their blog.  If you haven't checked out Quilt Story before, run on over and check them out.  They showcase quilts and the stories behind them.  I've found quite a few great blogs just from seeing the quilts and hearing about them on Quilt Story.

Thanks for featuring me Megan and Heather! I look forward to reading more stories!

Thursday, May 10, 2012

Tulip Blocks are Popping Up

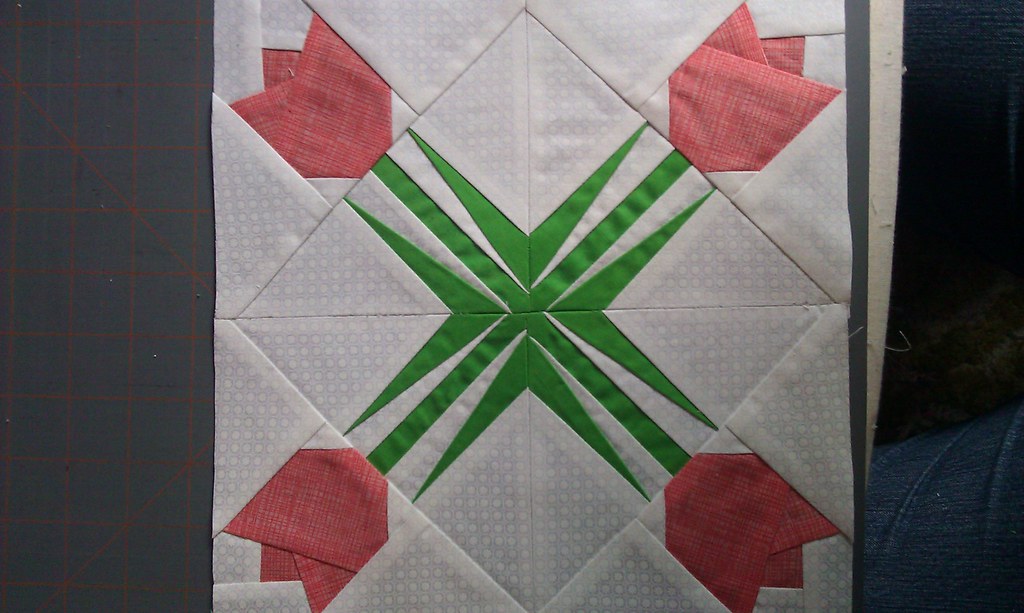
A couple of tulip blocks have been popping up on Flickr from the Garden Party Blog Hop.  I love seeing ways that people interpret the block that I designed. Check them out!

Mindy Ellen created this beauty!


 Karen in Tucson made a bunch of blocks from the blog hop, including my design.

If you'd like to make this block, you can download the pattern here.

Tuesday, May 8, 2012

Tutorial - Charmingly Crazy Nine Patch Quilt

Charmingly Crazy Nine Patch

This is a quilt that I designed a while back and I wanted to share a tutorial on how to make it.  I made this quilt using four charm packs and some coordinating yardage.  The whole quilt is made using Basic Grey's Sultry line.

Here you can see what a basic block looks like.  It's a crazy nine patch that is sashed using a very light pink and then all of the blocks are sashed using a medium pink.  I didn't want a lot of contrast in this quilt, so I went for a lot of light and a few medium value fabrics to coordinate with the charm packs.


Materials
This tutorial is for the lap quilt, but I am also providing a materials list for other sizes should you want to make something smaller. 


Table Runner (16” x 44”)
Table Topper (42” x 56”)
Wall Hanging (56” x 56”)
Lap Quilt
(56” x 70”)
Number of Charm Packs (calculated with the average of 40 squares (or charms) per pack)
1
(27 charms total)
2
(54 charms total)
3
(81 charms total)
4
(108 charms total)
Block Sashing (light pink)
1/3 Yard
½ Yard
¾ Yard
1 Yard
Quilt Sashing and Inner Border (medium pink)
¼ Yard
½ Yard
2/3 Yard
¾  Yard
Border
N/A
1 Yard
1 Yard
1 Yard
Backing
¾ Yard
1 ½ Yards
3 Yards
4 Yards
Binding
¼ Yard
½ Yard
½ Yard
½ Yard

Optional: 3 ½” square acrylic ruler, paper plates for organizing groupings

Cutting
For this project, the numbers are for the lap quilt pictured above.
           
Preparation
If using fabric other than charm packs, cut your fabric into the required number of  5” squares.

Block Sashing (light pink) 
1. Cut the sashing fabric into 26 strips that are 1¼” x WOF (Width of Fabric).
2. Cross cut your sashing into 72 strips that measure 3 1/3” x 1¼”.
3. Cut an additional 48 sashing strips that measure 11” x 1¼”.
4. From the final 1 ¼” strips, cut 24 sashing strips that measure 12½” x 1¼”. 
Quilt Sashing (medium pink) 
5. Cut the quilt sashing fabric into 11 strips that measure 2 ¼” x WOF.
6. Cut 5 strips that measure 2¼” x 40”.
7. Cut 8 quilt sashing strips that measure 2¼” x 12½”.
8. Cut 2 strips that measure 2½” x 58”.  *Note that you will need three strips total for this.  Cut one of the strips in half and sew it to each of the other two strips and trim.
Border
9. From the border fabric, cut 6 strips that measure 6” x WOF”.

Directions
Note: All seams are ¼” 
Preparation
1. Make 12 piles of nine 5” charm squares to create your crazy nine patch block.  Make sure you have a good variety of colors in each pile so that one grouping doesn’t stand out more than the others.  
Sewing the Crazy Nine Patch
Repeat these steps for each grouping.


1. CAREFULLY align each pile so that all nine squares lie directly on top of each other.  It’s easiest to do this on your cutting board so that you don’t need to move your perfectly aligned pile and reposition it after you move it.  Aligning the piles is the only area where you’re going to need to be very precise, the rest of this step will require you to let loose.

2. Place your ruler vertically about a third of the way in on the left and at a slight angle.  Cut through all 9 layers of the pile.

3. Take ONE piece of fabric from the TOP of the smaller cut piece on the left and move it to the back of that same pile.  Throughout this entire section, you will always move the smaller piece of fabric.

 
4. Being careful not to change the order of the pile you just cut, sew the cut pieces together.  It is helpful if you chain piece the fabrics and keep them connected until after you’ve ironed all of the pieces to ensure that the order will always stay the same. 

5. Iron the rectangle and stack the pieces one on top of each other in the same order that you sewed your pieces.

6. On the right side of the now rectangle, place your ruler vertically about 1/3 of the way in at a slight angle and cut through all 9 layers.

 
7. Take TWO pieces from the smaller, cut side on the left and move it to the back of the pile. 

 
8. Repeat steps 4 and 5. 

9. Rotate the block 90 degrees to the right and place your ruler vertically on the pile about a third of the way from the left from the top and at a slight angle and cut through all 9 layers being careful not to move the pile around when cutting through the sewn seams. 

10. Take the top THREE pieces of fabric from the top, smaller cut section and move it to the back of that section.  Remember, you're always moving the smaller cut pieces of fabric here. 

 
11. Repeat steps 4 and 5.

12. Make your final cut by positioning your ruler vertically about a third of the way from the right of the pile and make your cut like in step 9. 

13. Take the top SIX pieces of fabric from the top of the smaller piece at the bottom of the section and move it to the bottom of that same pile.

 
14. Repeat steps 4 and 5.

15. Square up your crazy nine patch to 3½” square.  You can square up the nine patch at a slight angle if you want the block to look even more interesting.  


16. Repeat the entire step for each set of nine patches that you plan on making. 

Tips:
·         Mix up your angles so that your blocks look different from each other.  If they all look the same then you loose some of the crazy nine patch effect.
·         Make sure you cuts  at least ½” from the edge of the squares when creating your crazy nine patch blocks to avoid any one piece from being too small.
·         ALWAYS move the SMALLER piece from the cut section from the top to the bottom of the pile.
·         Use a new, sharp blade in your rotary cutter to make cutting through nine layers of fabric much easier.
·         Remember, it doesn’t need to be perfect, these squares are meant to look different!
·         Because you’re going to square off your block, you might want to make the center a bit smaller when cutting and sewing to allow for some extra fabric to be cut off on the outside blocks during the squaring process.
·         Chain piece your pieces together and don’t snip the thread until after you’ve ironed the pieces to ensure that the order never changes. 

Block Sashing
These instructions are for one block.  Repeat for each nine patch grouping.
1. On a design wall or other design surface, lay out your 9 nine patches into a 3x3 layout until you’ve found a layout you like.  Depending on the fabrics you’ve chosen, you might need to do some rotating of the blocks to find an appealing layout. 

2. Arrange and sew block sashing strips in each horizontal row to form three horizontal strips in the following order {sashing, block, sashing, block, sashing, block, sashing}.

3. Take 4 of the 12½” x 1½” strips and place them vertically in between the newly formed strips and on the top and bottom and sew together.  This should give you a 12½” square.

4. Repeat for each block.
Quilt Sashing
1. Using the12 ½” x 2¼” strips, sew the sashing in between three quilt blocks in the following order {block, sashing, block, sashing, block}.  You will not be adding sashing to the outside of the row right now.

2. Sew the five 40” x 2 ¼” strips to the pieces created in the previous step to begin assembling your quilt top. 

3. Sew the 2½” x 58” strips to the last two unsashed sides of the quilt top.     

 Borders
1.Create two strips from your border fabric that measure 6" x 58" and sew them to the sides of the quilt.

2. Create two strips from your border fabric that measure 6" x 55 ½" and sew them to the top and bottom of the quilt.
Finish your quilt!
 

Monday, May 7, 2012

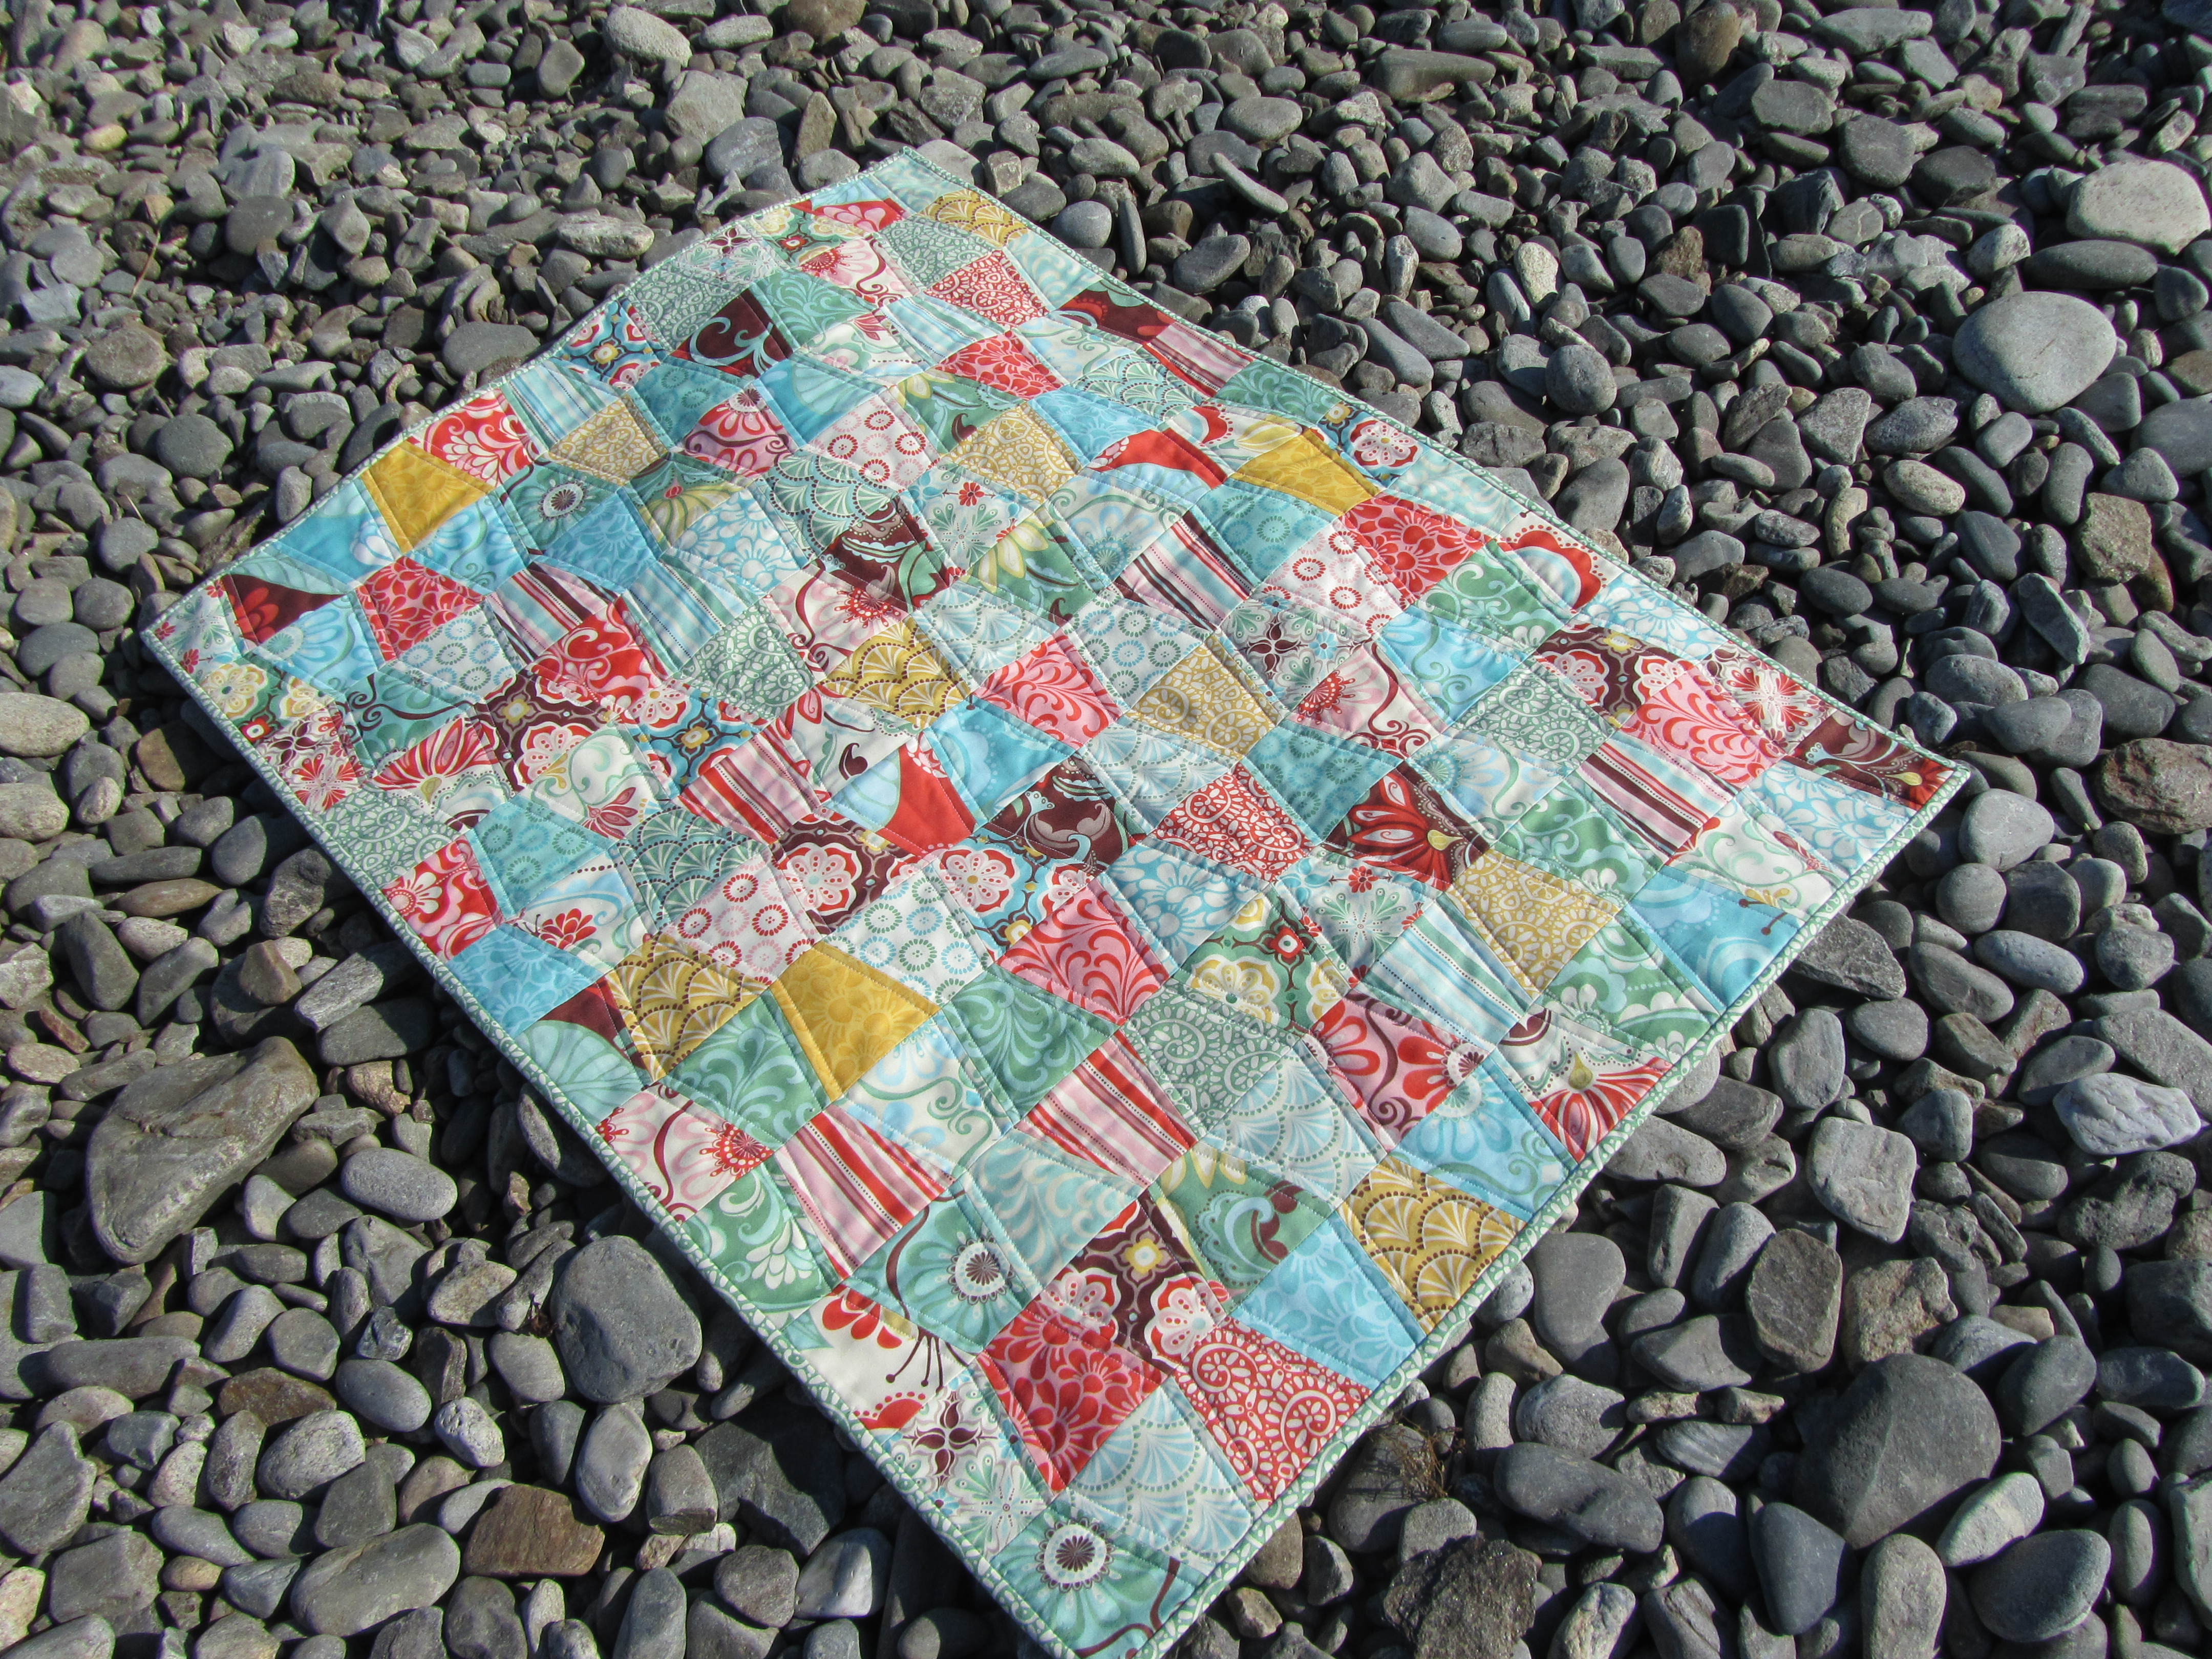
Tumbler Quilt Finished

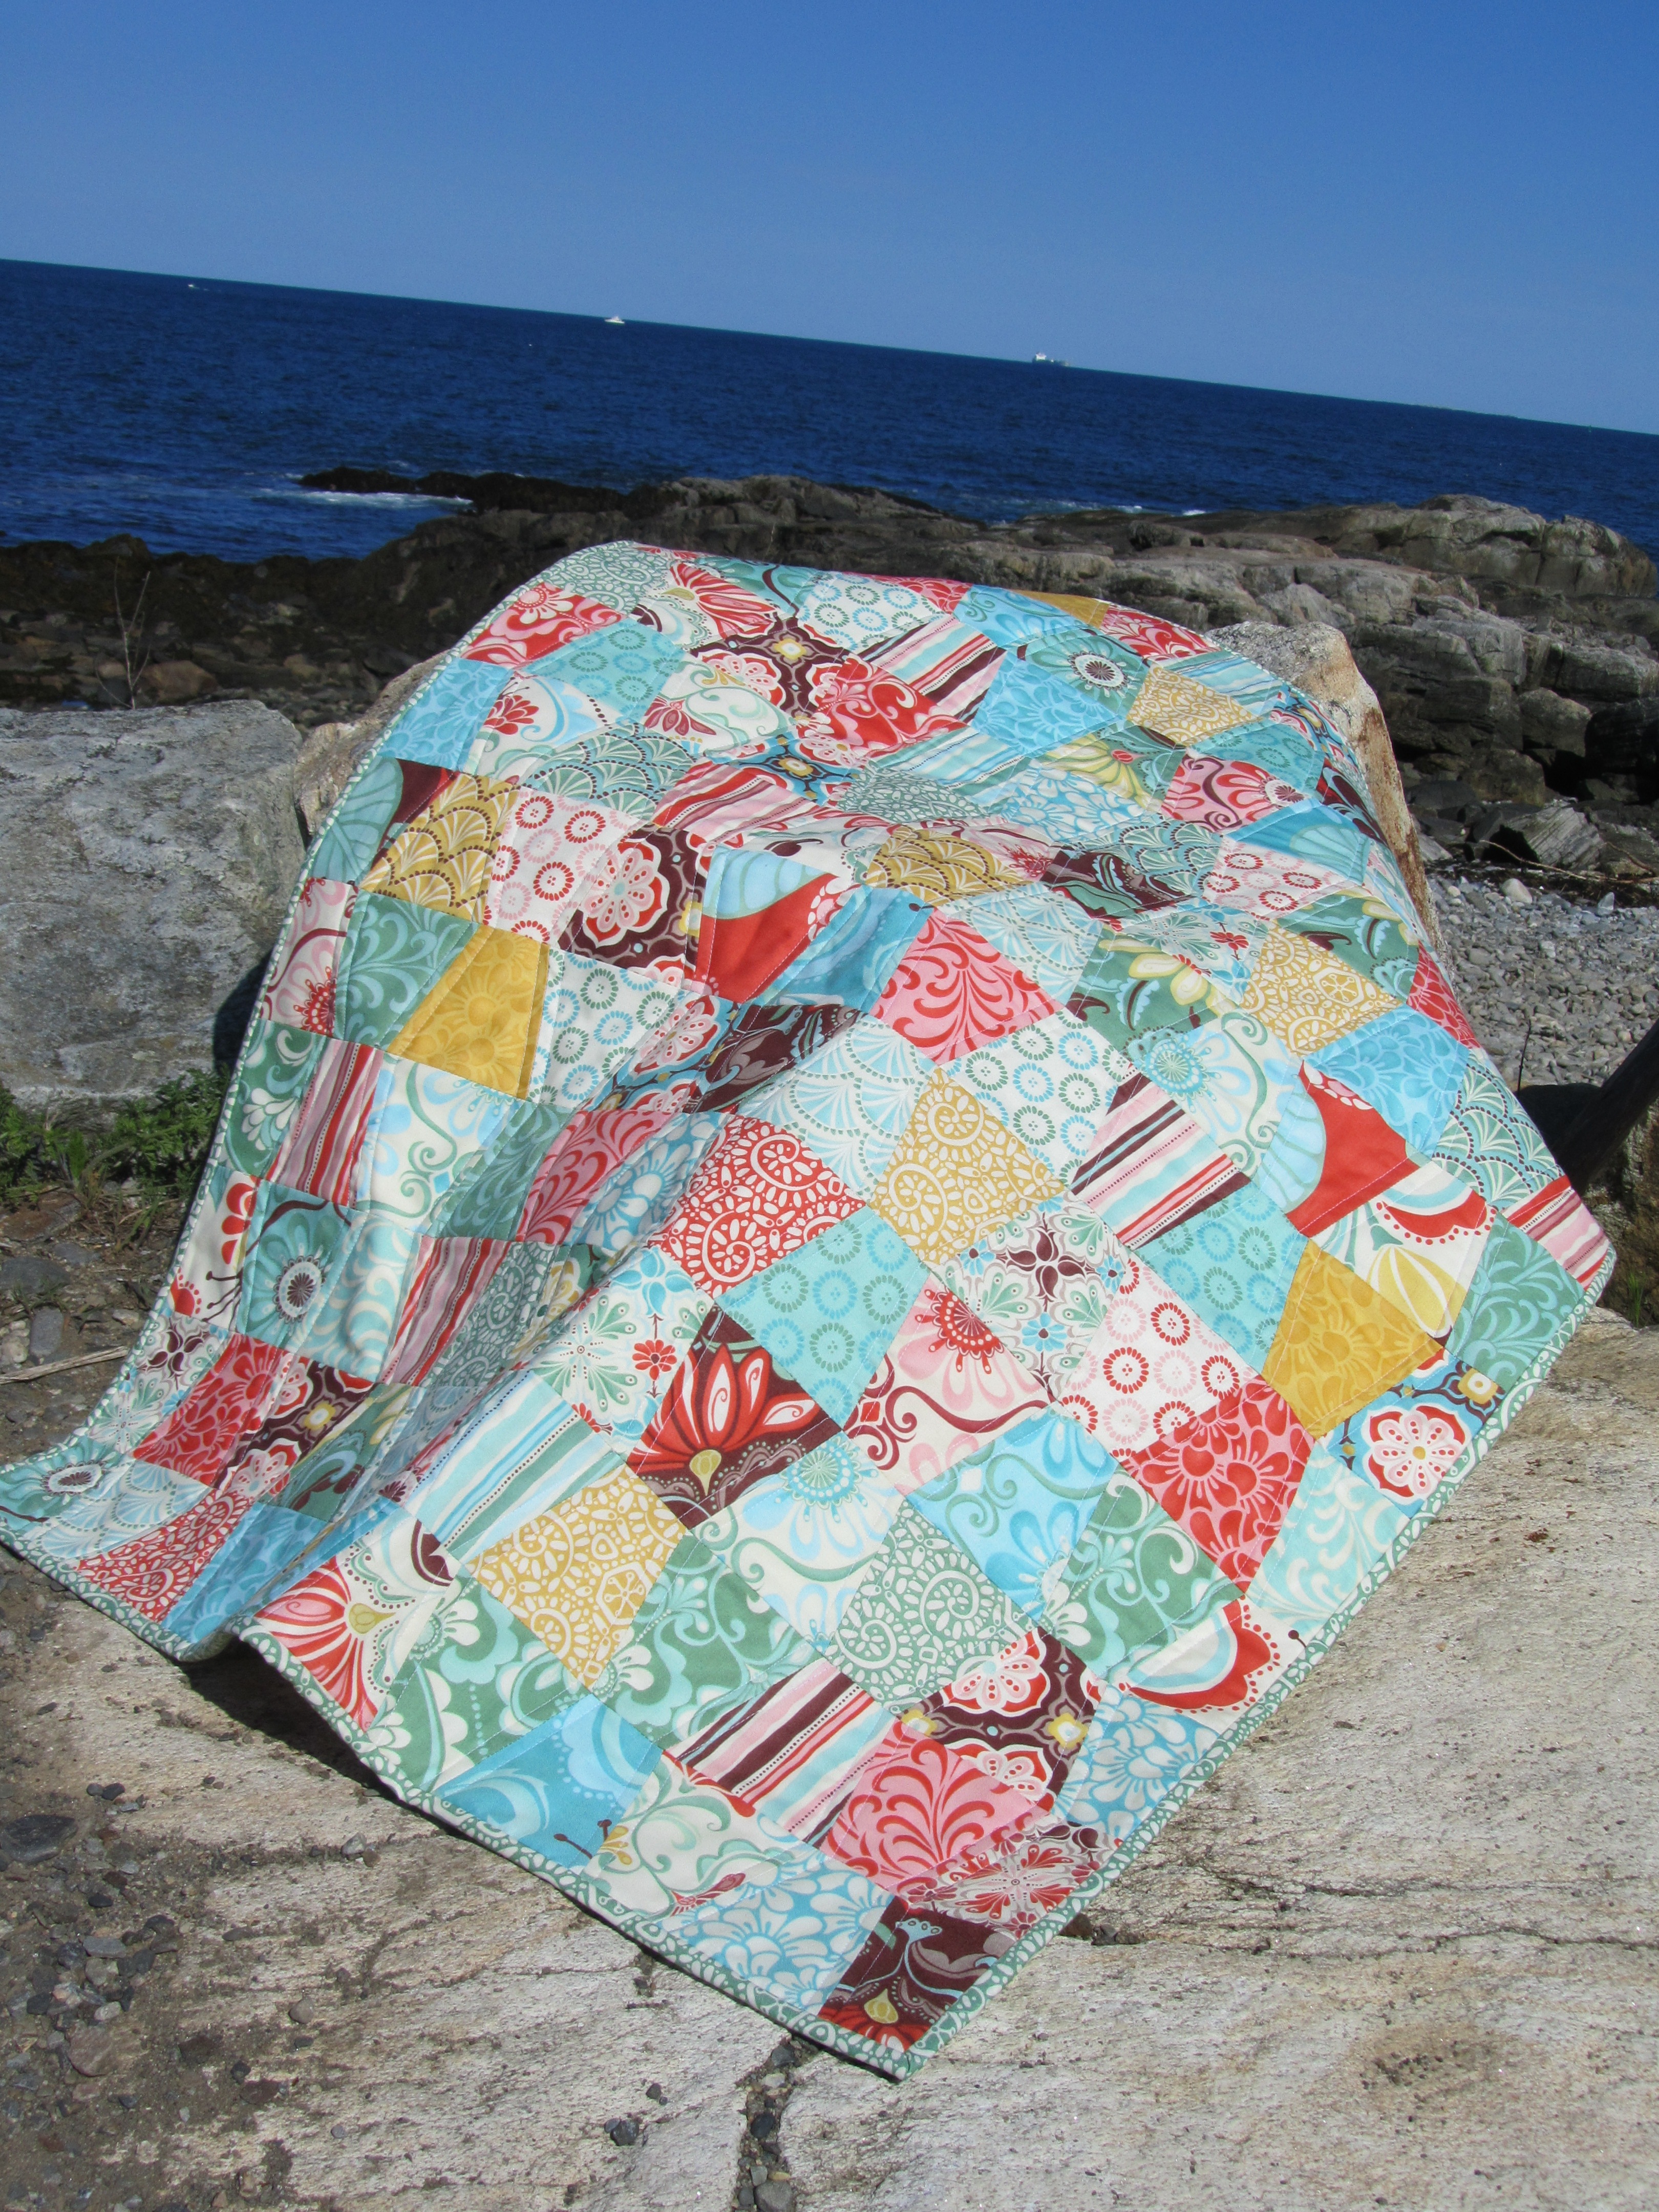
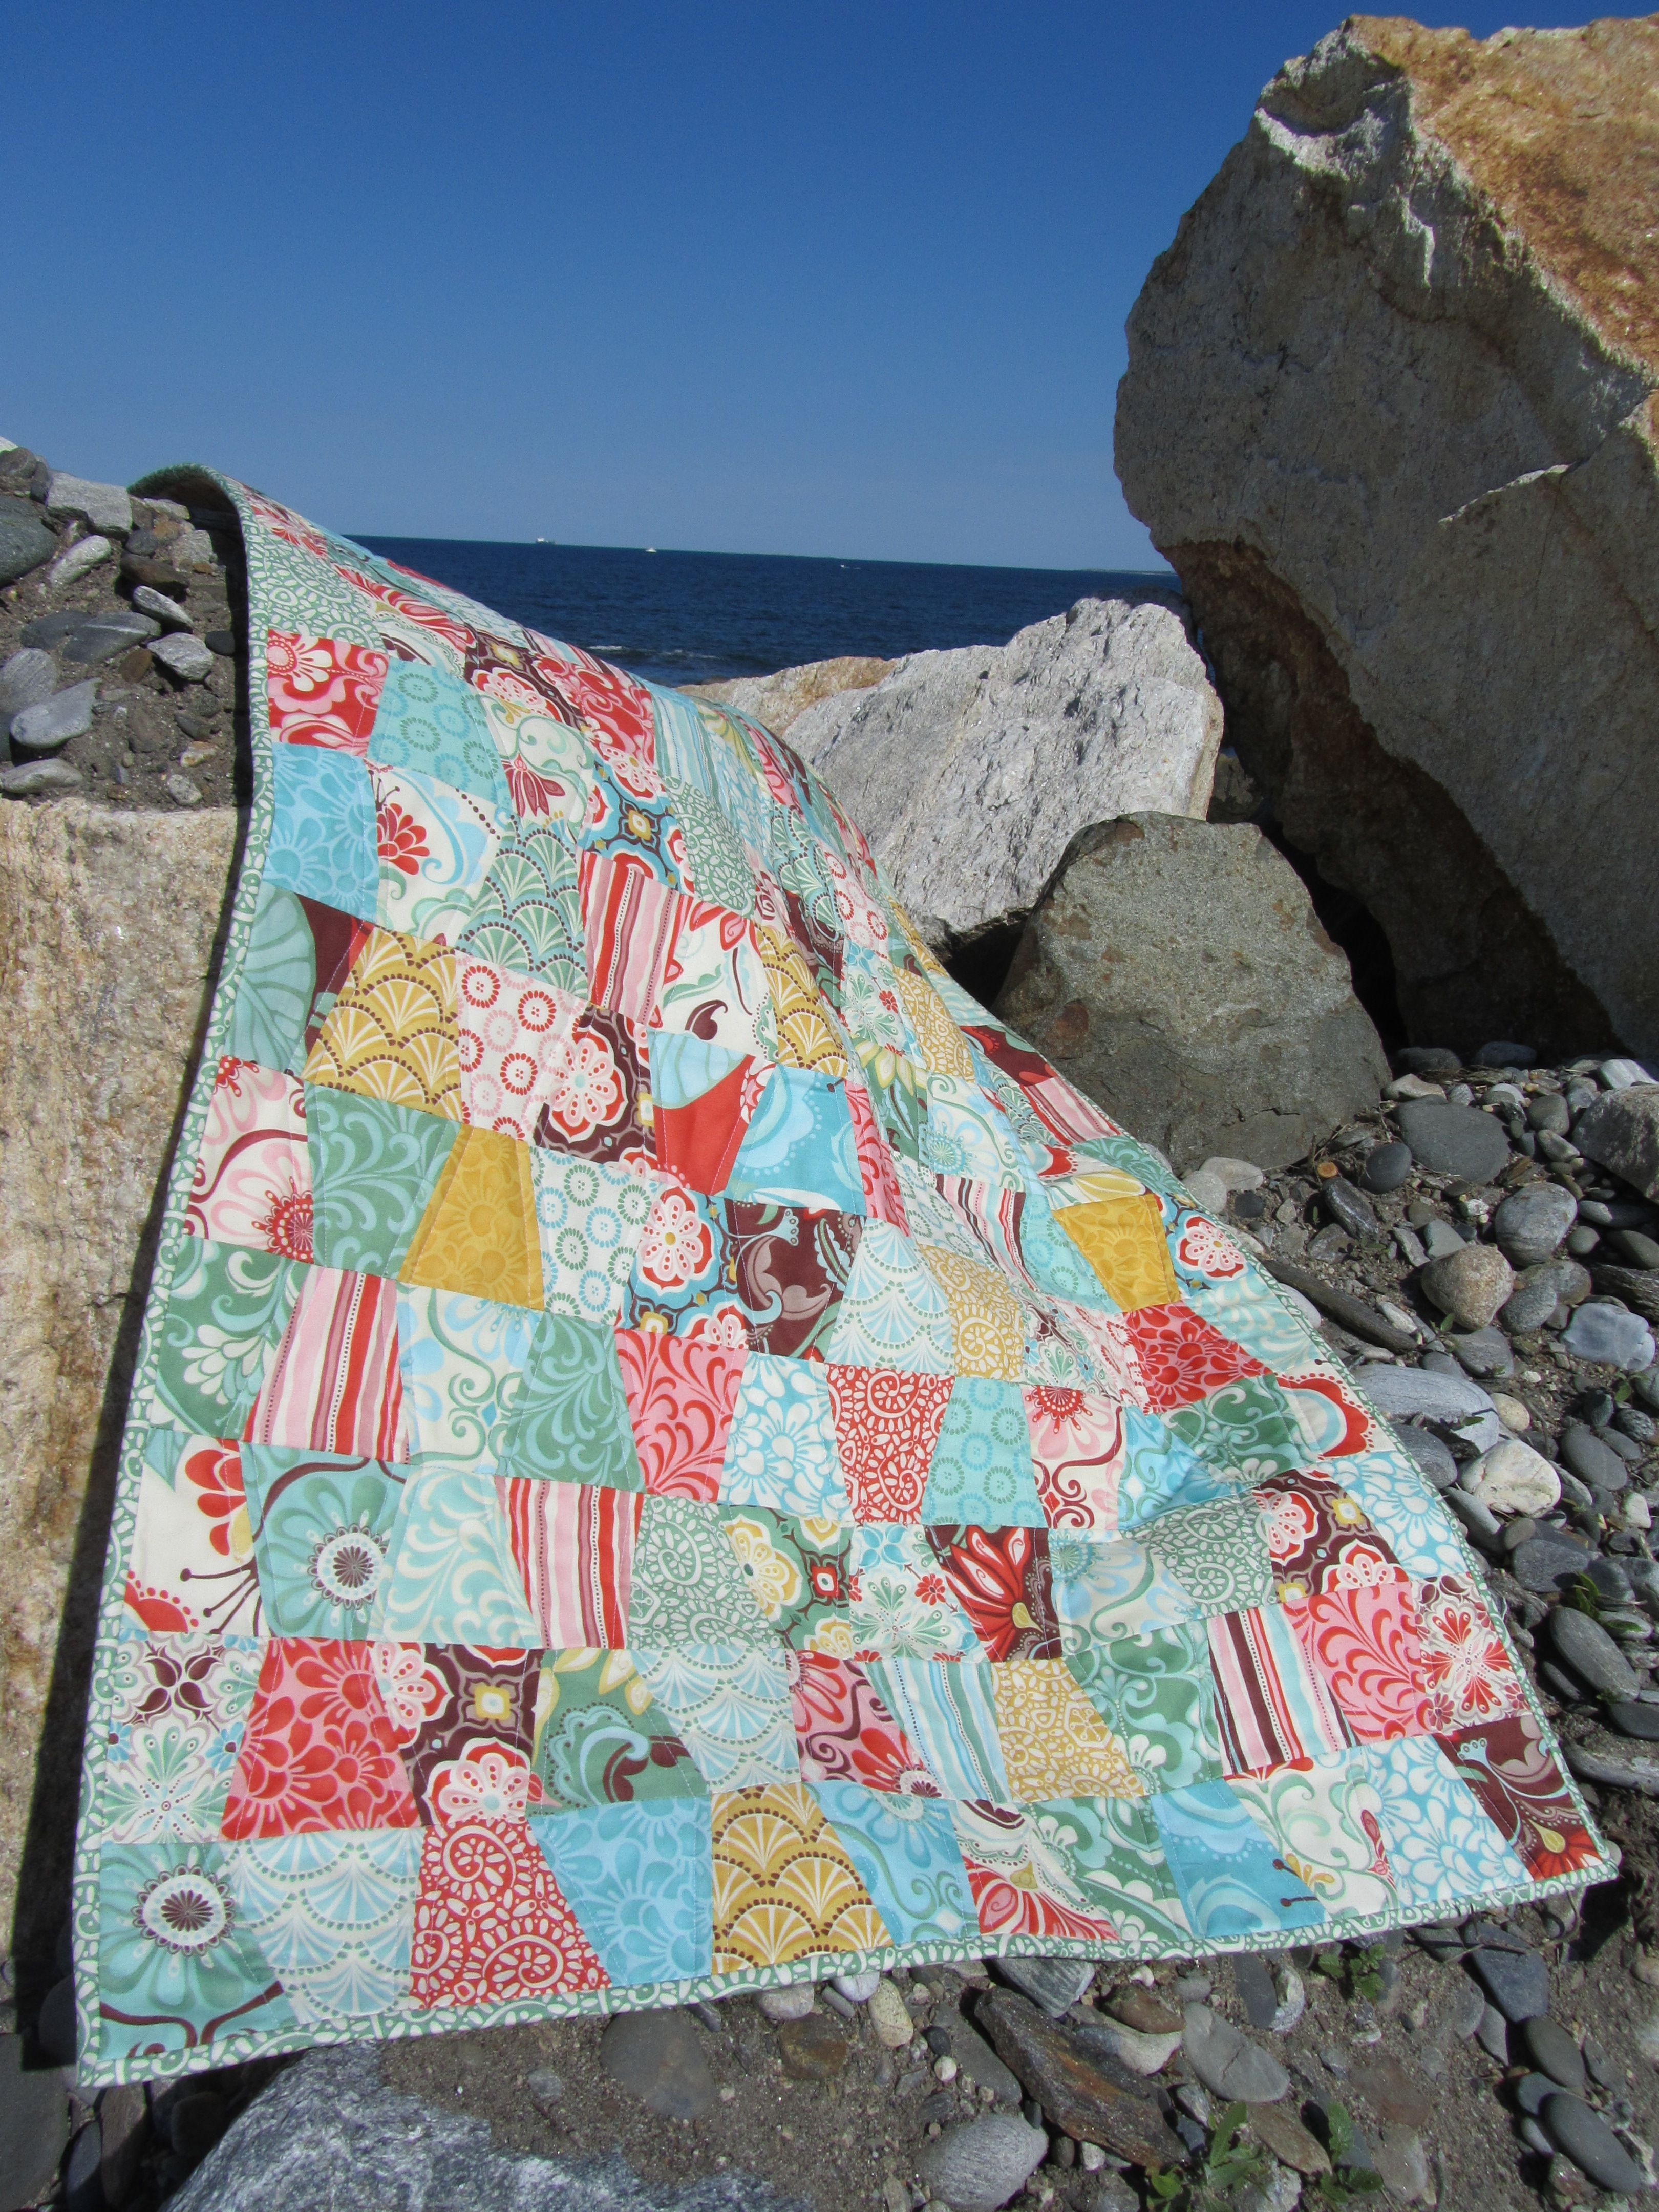
I finished my tumbler quilt last week and I brought it with me to get some good photographs when I went to visit my parents at their beach house.
I love the way this quilt came out. I started this as a leaders and enders project a while back.

I used four charm packs of Kate Spain's Fandango line that I cut out using my Accuquilt Go! cutter.  I used the baby die for this one since the regular die is larger than a charm pack. 

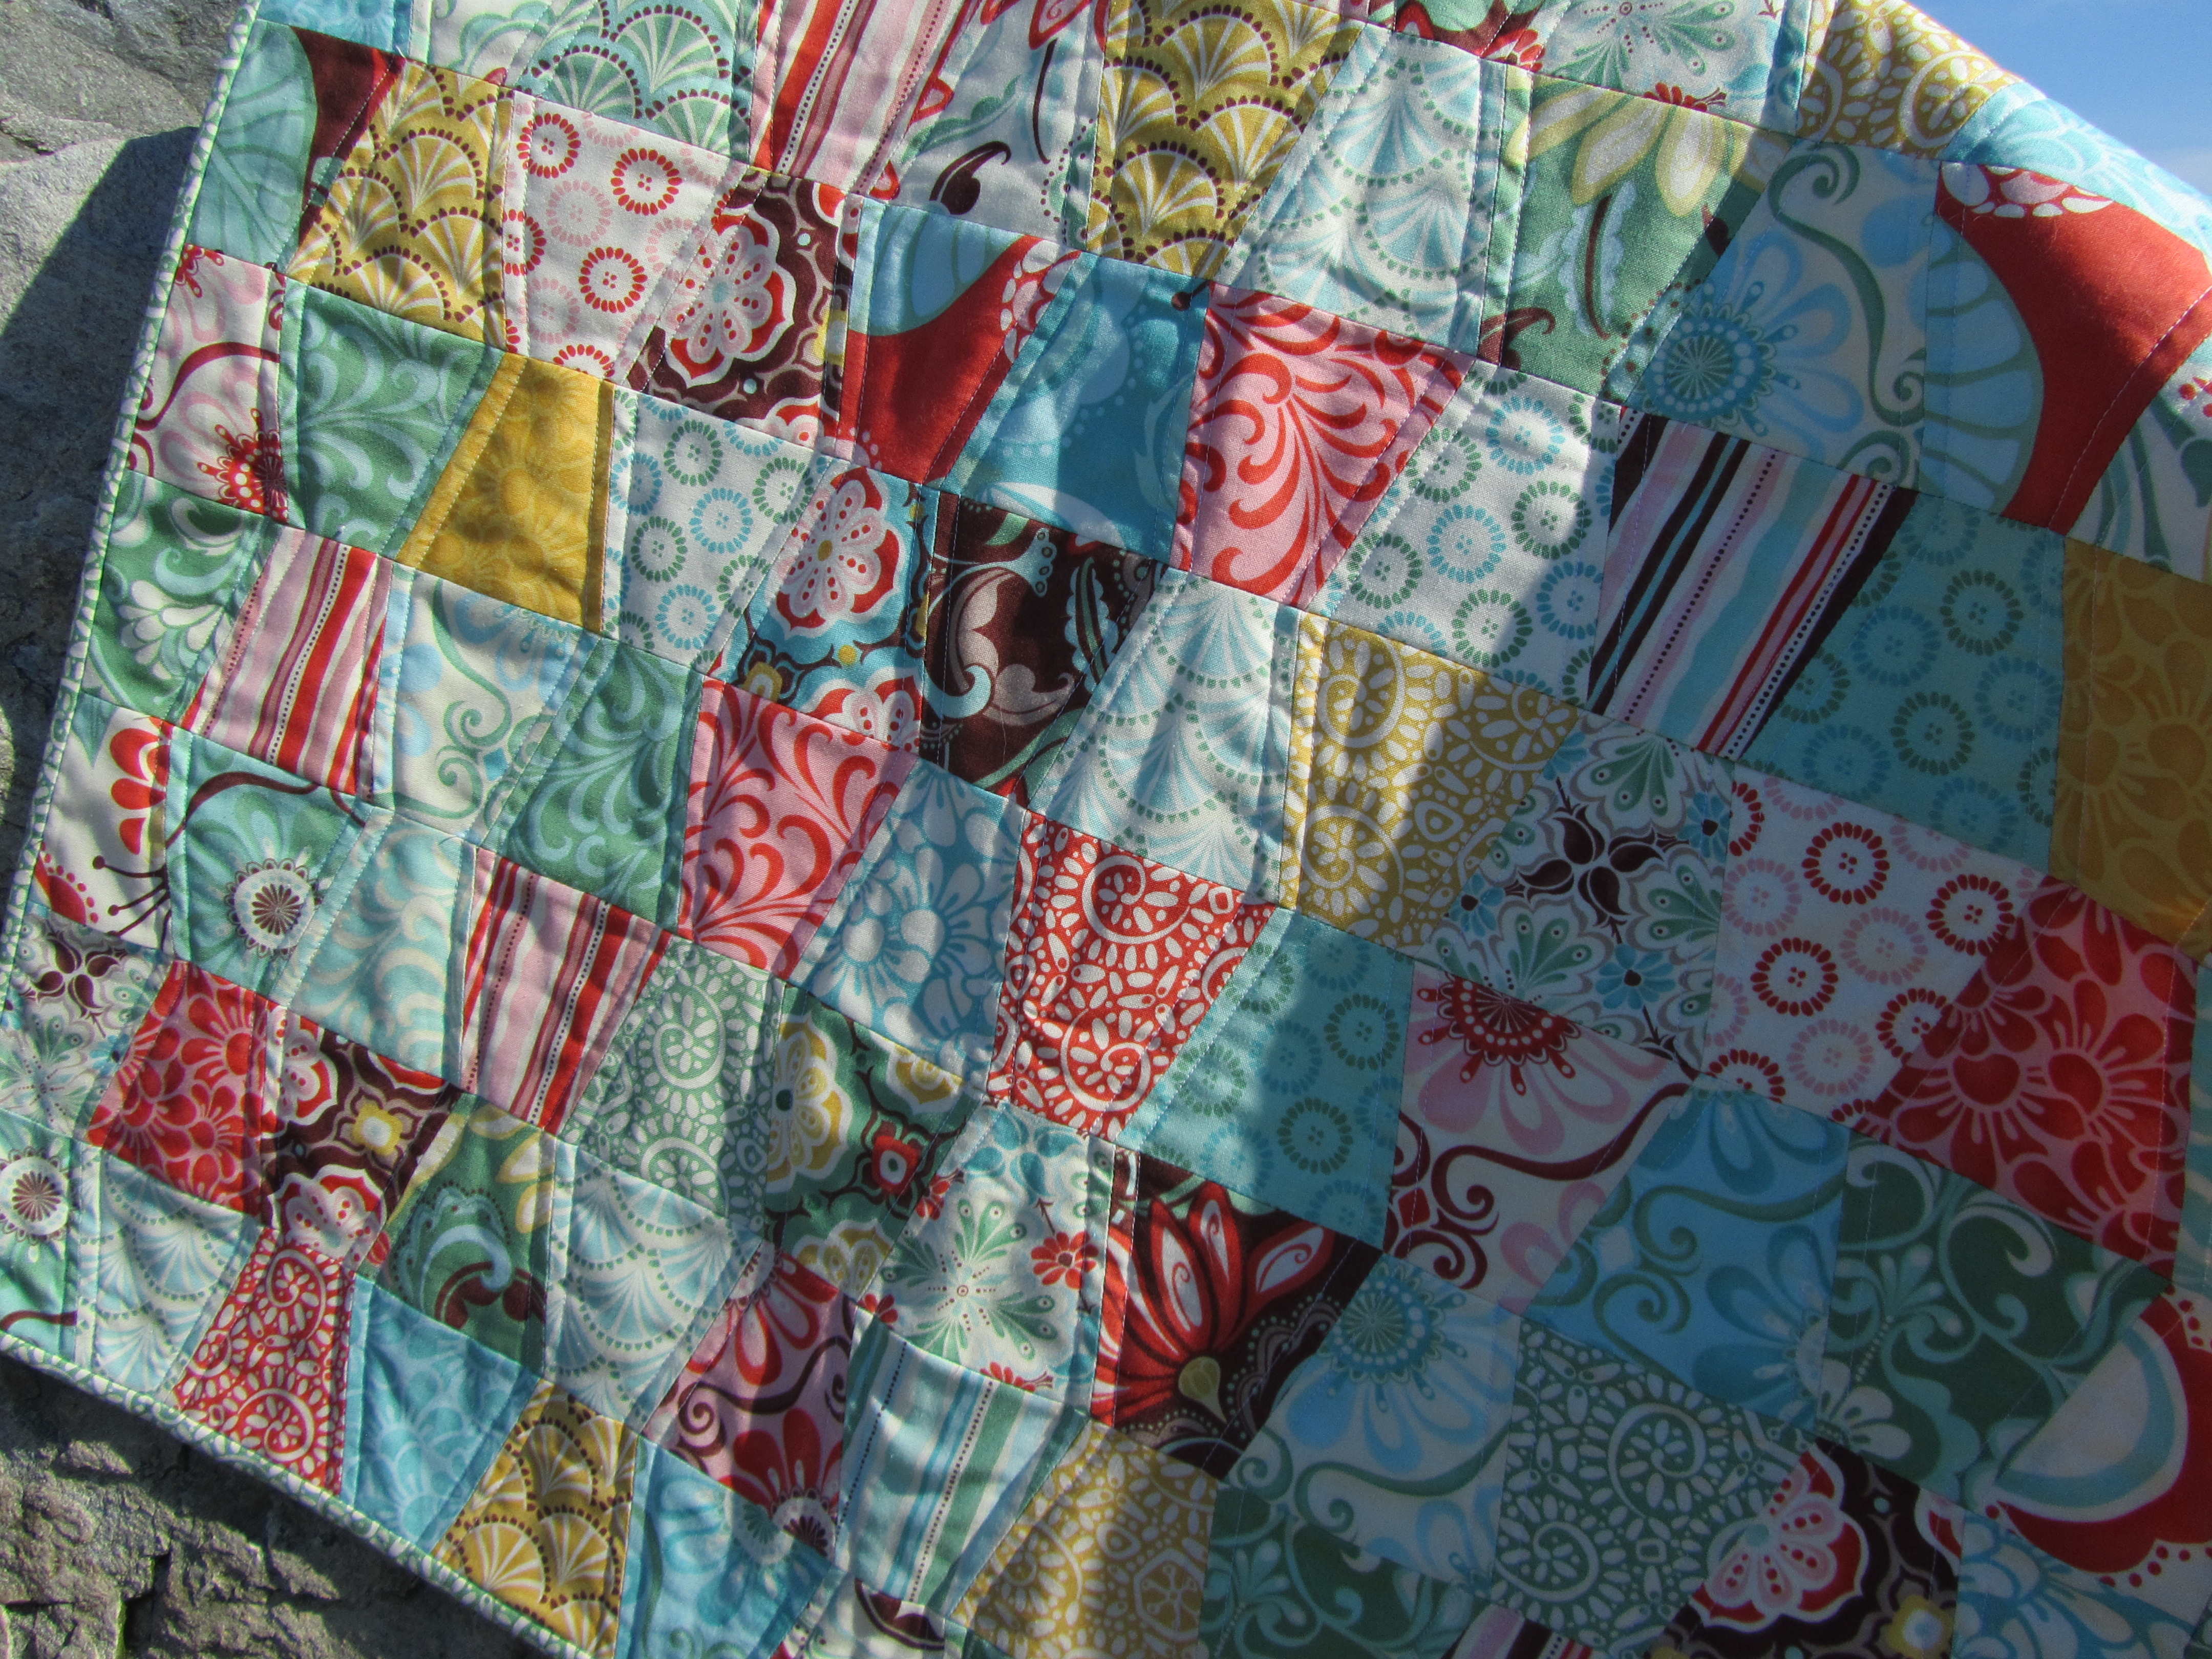
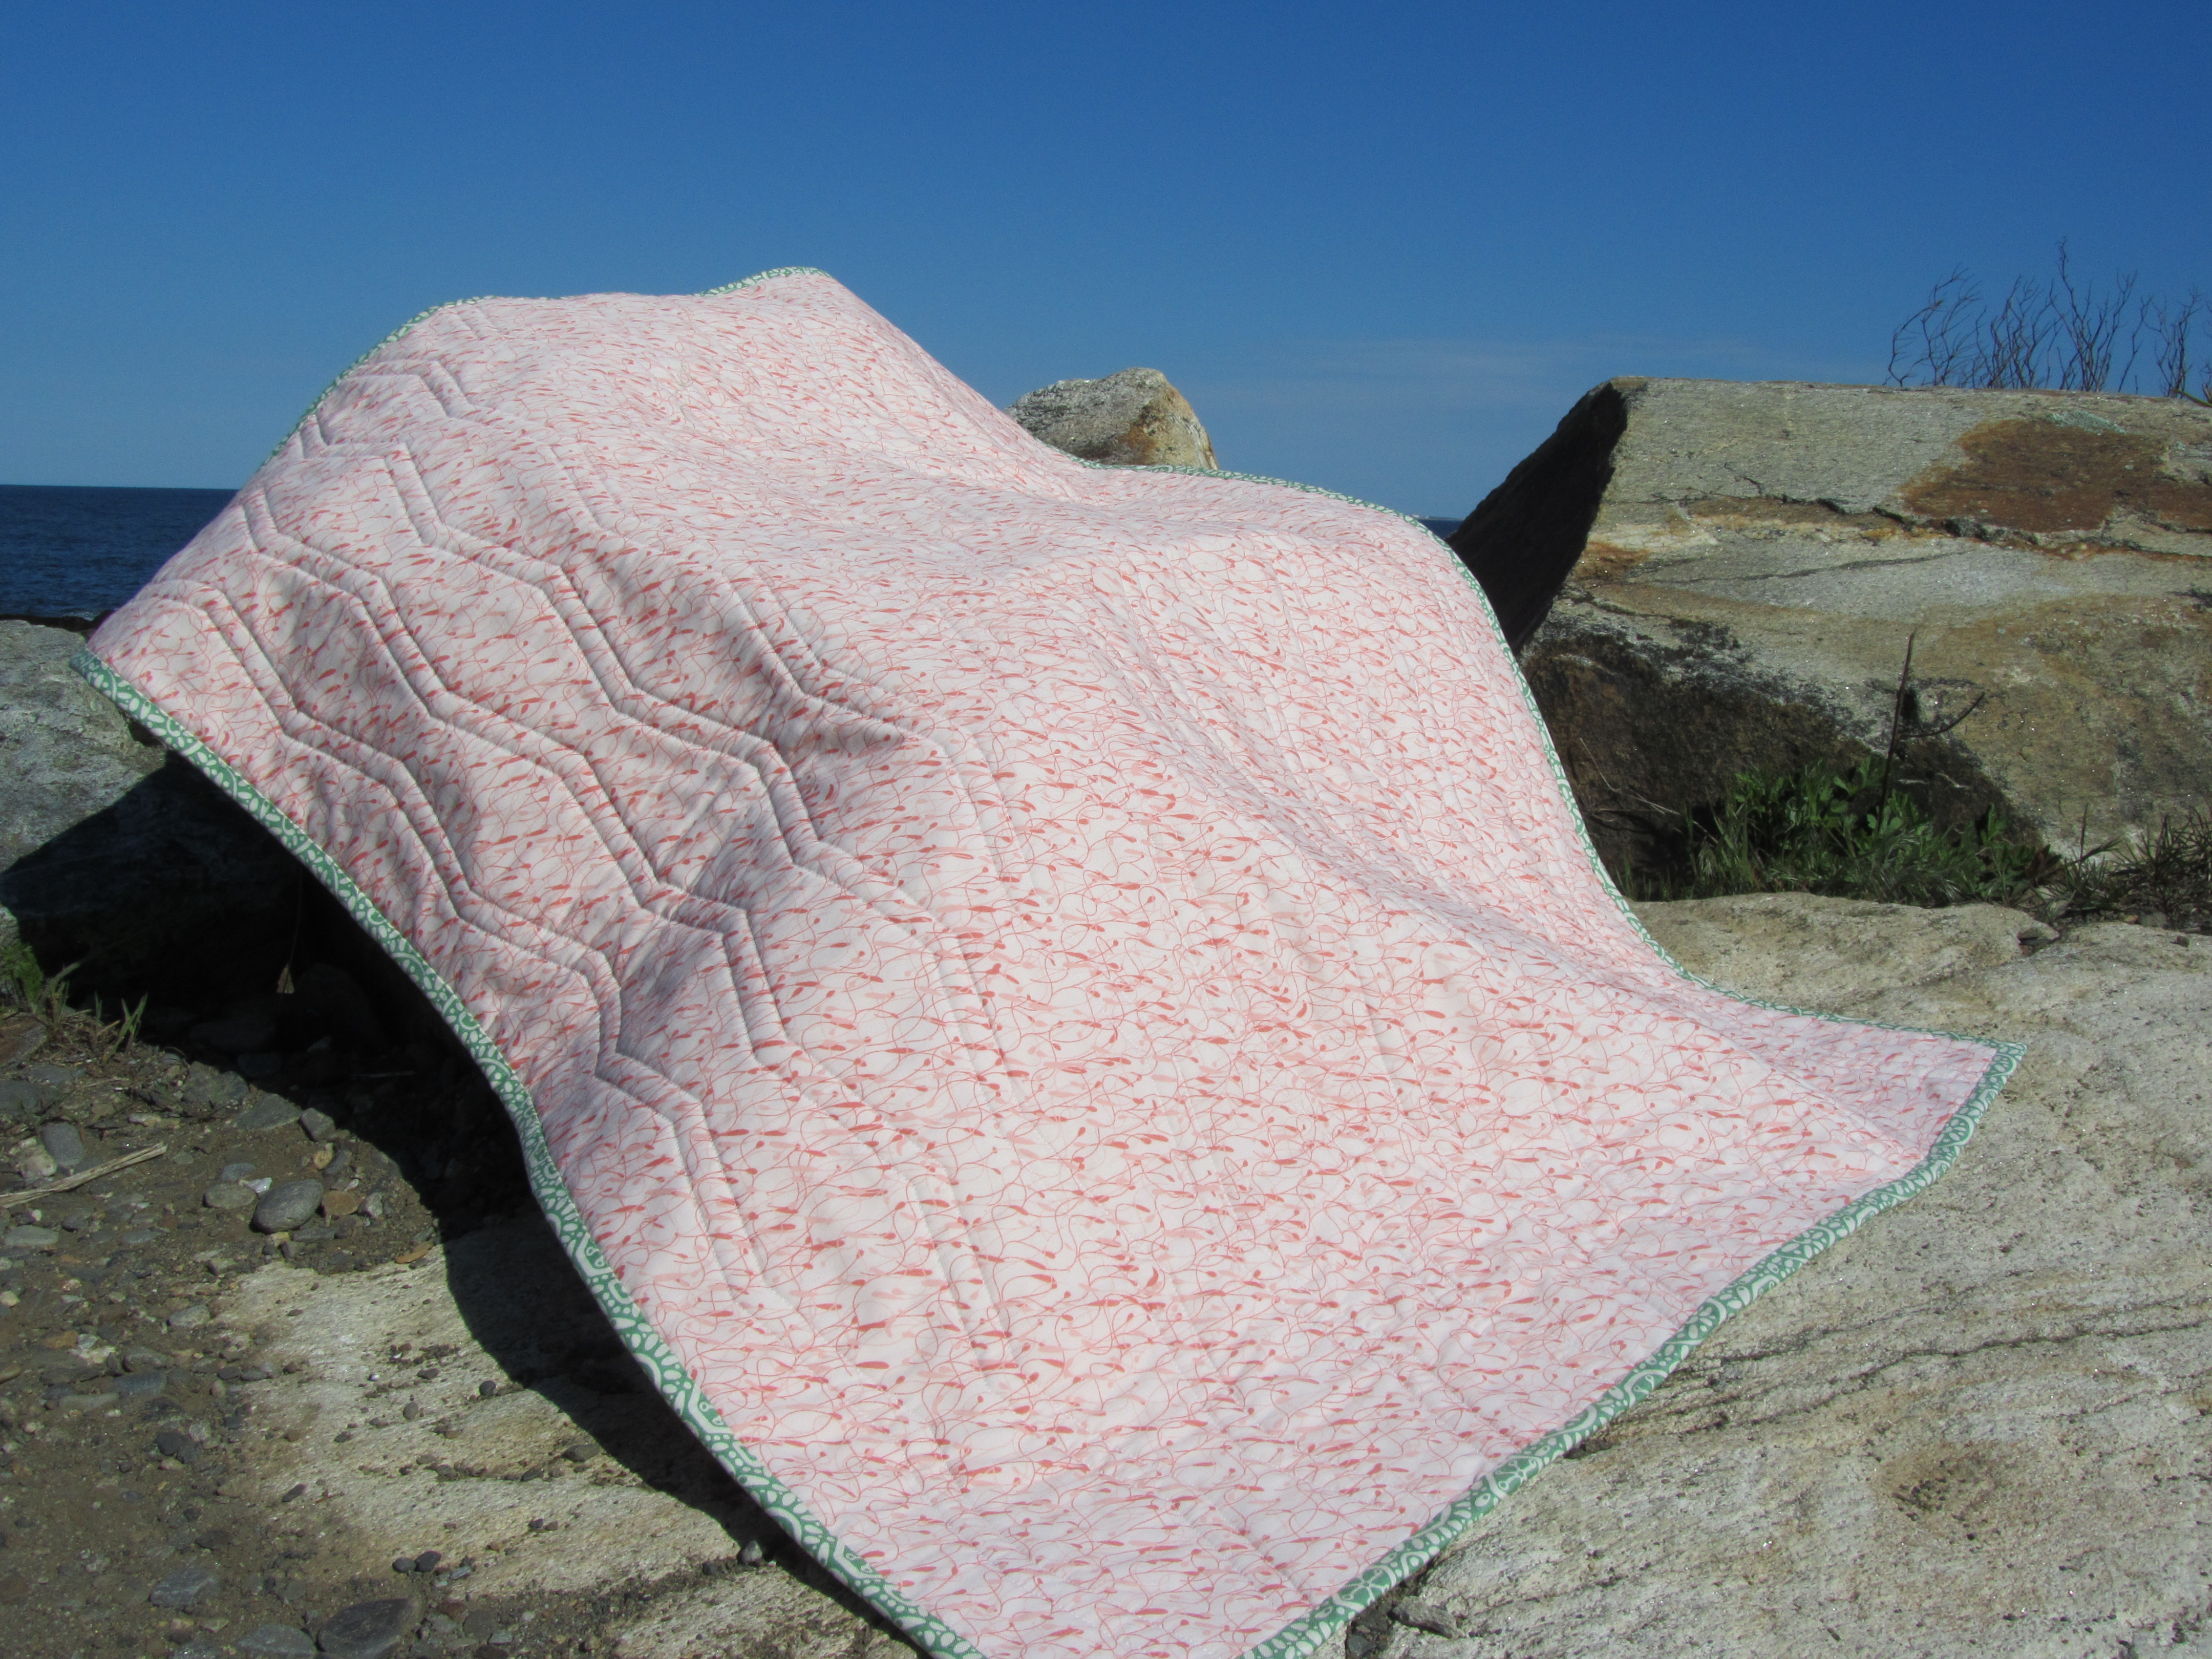
I quilted this one by quilting on either size of the zig zag seam and I really like how it came out.  I think the quilting looks even better on the back of the quilt.
It's backed using an Art Gallery print that I had in my stash.  It's from the Botanica line. 

My brother-in-law is expecting a baby in November, and if it ends up being a girl, I was thinking of giving this quilt to the new baby since it's a perfect baby sized quilt.  I forget the actual dimensions, but it took just a one yard cut of fabric for the backing.

Friday, May 4, 2012

Log Cabin Pin Cushion

When I was making the log cabins for my Modern She Made Swap pillow, I made one log cabin in red and navy, but didn't think it fit with the rest of the colors.  I left it out of the finished project, but wanted to still use it somehow.  I decided that it should become a pincushion to go with the pillow.

I like to fill my pincushions with a mixture of cotton stuffing and walnut shells.  The walnut shells tend to give the pincushion some heft while the stuffing adds a nice fluff to the pincushion.

Here they are together.  You can see how the red and navy just didn't go with the other blocks, but how by itself, it looks cute.  

Wednesday, May 2, 2012

WIP Wednesday: More Machine Quilting

Last weekend I got my tumbler quilt basted and last night I begun to machine quilt it.
I'm echo quilting on either side of the zig zag portion of the tumbler blocks.  This one is also the perfect size for a baby quilt, so I want to keep the quilting fairly light.  I can't wait to have yet another quilt finished soon! 

I hope I can continue this pace of finishing up so many quilts this year.  Unfortunately, I don't have many other small quilts that are ready to be quilted, so the pace might slow down a bit soon.

WIP Wednesday at Freshly Pieced


Tuesday, May 1, 2012

Twister Quilt Finished!

This weekend I finished putting the binding on my twister quilt.

I love the way it came out.  I used two It's a Hoot charm packs for the twister portion.  I then used coordinating fabric for the binding and backing.  The white around the outside of the quilt is a Kona white.

I quilted this little quilt on either side of the horizontal and vertical seams.  I was trying to think of some way to play off the twisting pinwheels, and realized that with this type of quilting, the quilting would go through the long point of every pinwheel.

 I love this mini quilt.  I think it would be a perfect baby quilt.  I know so many people having babies this year, so who knows, it could wind up being for one of them.

I can see myself making more of these twister quilts in the future.  They come together so quickly and look great.


Fresh Poppy Design