Wednesday, October 31, 2012

Low Volume Pin Cushions

With some of my leftover 1" squares from the Modern She Made Swap pillow, I decided to make a couple of matching pincushions.

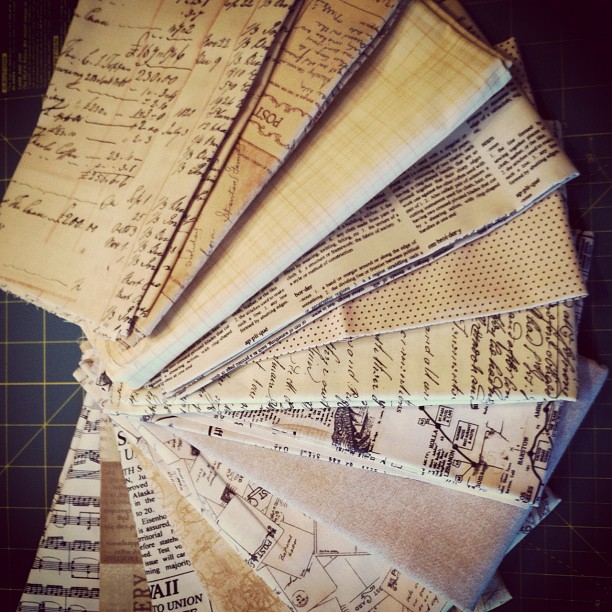
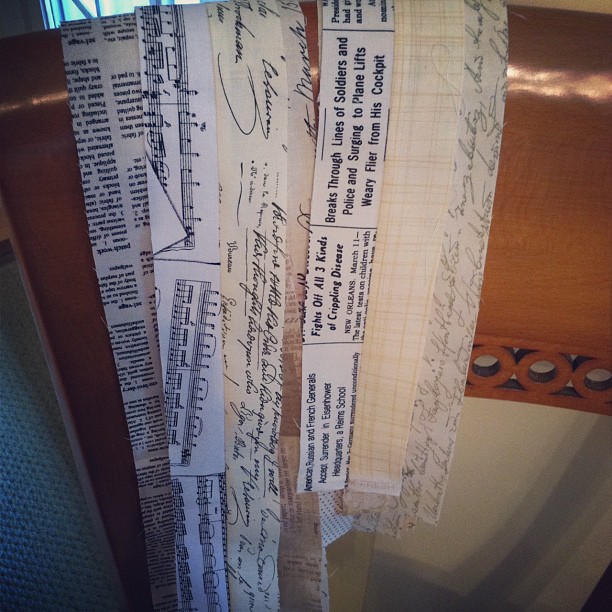
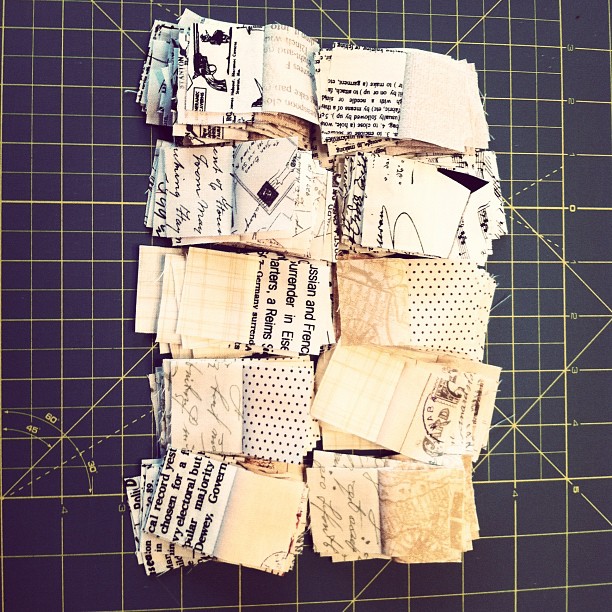
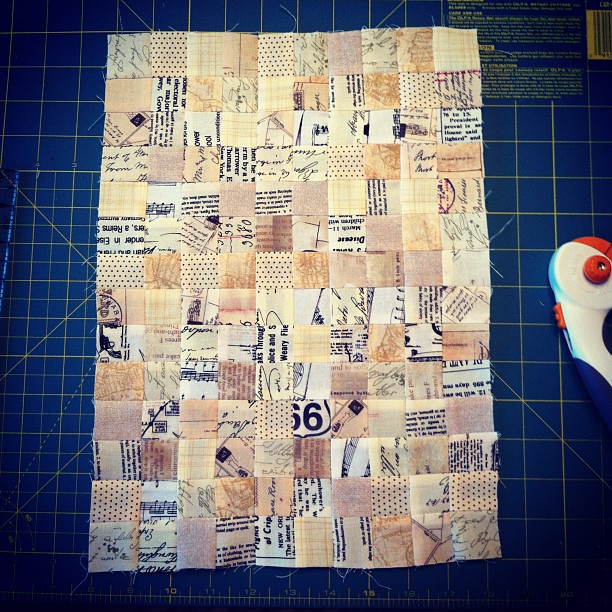
They're just simple postage stamp style pincushions, but I think they're cute.  One will be going to my MSMS partner and the other will either be kept by me or used for the MQG pincushion swap that the BMQG is participating in.  I have a plan for a different pincushion for that swap, if I have the time to execute on it. I hope I do because I think it will be really cool.

Tuesday, October 30, 2012

Modern She Made Swap Round 2 - Completed Pillow

I really had a very productive sewing day on Sunday.  In addition to getting some binding on some quilts (and actually quilting one) I also finished my Modern She Made Swap pillow cover.
I'm really pleased with how it turned out.  It really aligns with the vision I had for the pillow in the beginning. The pillow I stuffed inside this one is a bit too small, but it's the correct size that my partner wanted.

It's easier to see the machine quilting on the back of the pillow before I assembled it.  I did some straight line quilting on the outer most part and did a wood grain quilting in the center, around the leaf since I thought it fit well with the look of the pillow.  I'm really pleased with how it turned out. I hope my partner likes it.
Fresh Poppy Design


Monday, October 29, 2012

Ready for Sandy

Yesterday I finally got back into my sewing room after finishing putting my guest bedroom together - and boy was I productive! 

First on my priority list was getting some quilts ready to hand bind for if/when we lose power with Sandy coming today.
The first is of a baby quilt that I'm making.  I know so many people having babies this year, so I'm not quite sure who this one will be for.  The second is a larger, queen sized, quilt that I made a while ago but never finished.  The BMQG is having a WIP contest to finish all of our UFO's, so between Sandy coming and the challenge, I figured now is as good a time as any to finish it up.
I added a red binding to this quilt to add an additional pop of color to it.  The binding isn't tacked down yet in this picture.  I have a feeling I'm going to lose power sometime today with Sandy, so I wanted to have something to do if/when I do.

I backed the quilt in a soft flannel and echo quilted along each seam.  I didn't want the quilting to be too dense because I want it to be soft and "snugglie" instead of stiff. 

Oh, and I do have my stock of non-perishable food, water, flashlights and batteries, but having these two quilts ready to bind is the most important.  Right?  Hmm, maybe I need to reassess my priorities.

Friday, October 26, 2012

Blogger Quilt Festival - Fall 2012

Amy's Creative Side
It's that time of year again - the Blogger's Quilt Festival.  This time around I'm "entering" my Dazzling Diamonds quilt.  This was a hard choice for me because I've actually finished quite a few quilts this year.
I made this quilt as part of a challenge the Boston Modern Quilt Guild was hosting. Participants had to make a mini quilt in the colors of QuiltCon.  The mini had to use at least three of the colors and could be no bigger than 24" on any side.
Anyone who knows me well knows that I love to paper piece.  So of course I needed to create my own paper pieced pattern for my entry into the challenge. I designed this block because I wanted a block with diamonds, but with a slight twist.
The quilt went together pretty easy.  The great thing about the block is that there's only one point to match, the tip of the diamonds, which is pretty rare for a lot of paper pieced patterns.  I think this also went together easy for me because I had just finished piecing the 140th paper pieced block in a different (but secret) quilt that I've been working on.  16 blocks in this quilt seemed like a piece of cake!
I love how in using two different grey fabrics for the stars, a secondary pattern emerged, a dark grey pinwheel.  I also love two different stars that emerge when piecing multiple blocks together - the grey and the orange in this quilt.
I lamented for a while on how I should quilt this beauty.  I knew I needed to do some custom quilting, but what kind of quilting should I do?  I started by echo quilting in the grey stars.  I stitched in the ditch around the blue diamonds and did a 1/4" echo three times within the grey stars. I then did some pebble quilting in the lime background.  I knew I wanted to do a figure eight type design in the blue, but I wasn't sure if I could do it well enough in such a narrow space.  The blue diamonds do measure only about 1/2" wide.
After practicing on some scrap fabric sandwiches, I realized that I could do a figure eight pretty well in the space provided, so I went for it.  I have to say, I'm really pleased with how it turned out.  I really like to practice new quilting designs on scrap quilt sandwiches first before digging into a quilt.  Boy am I glad I did.  The first few tries left me thinking that the blue would either be left unquilted or with a more simple design.  Practice is key because, like I said, I really like how it turned out and that might be my favorite part of the quilting.  I finished up by quilting some radiating straight lines in the orange star points to highlight the motion of the star.
I did change my thread color for each section for four different color threads.  Because of that, the back looks like an awesome whole cloth quilt.  Am I the only one who loves to just run my hands across a finish quilted quilt?  I couldn't stop running my hands over this one. I bound the quilt in a charcoal Kona to really frame the quilt.
Overall, I'm really pleased with how this quilt turned out and it has become one of my new favorite quilts.  Of course, that will probably change when I finish another quilt.
I'll be teaching a class on this quilt on November 18th at Quilter's Way in Concord, MA if you're interested in making your own mini quilt wall hanging or table topper for the holidays.

You can check out the rest of the quilts in the BMQG challenge here. Amazing, aren't they?

Quilt Details:
Finished Size: 24" x 24"
Fabrics Used: Kona Cotton - QuiltCon bundle from Pink Chalk Fabrics
Pattern: Dazzling Diamonds by me!
Machine paper pieced and machine quilted by me using Superior Threads So Fine!
Best Categories: Best Mini Quilt, Wall Quilt, Machine Quilted
Entry #: 78


Monday, October 22, 2012

Almost back in the swing of things

Things have been crazy lately.  I'm completely redoing my guest bedroom right now, which is taking a lot of time. I'm almost at the final stages.  I'm just repairing one of the walls before I can finish painting and adding the final details.
It's a really bad picture (from my phone), but the room will be a blue color and will have some green and raspberry pink accents to it. I ordered a super girly, but modest in size, crystal chandelier for the room too!  I can't wait to see this room all together.

As a result, not a lot of sewing has taken place since everything from this room is being stored in my quilting room while I complete this.
I did manage to sew on the appliqued leaf to my pillow cover while at the BMQG meeting this weekend.  Now I just need to quilt it and assemble everything. 
And while I was watching the Patriots game yesterday (don't get me started on how they played - awful despite a win), I was busy sewing on the hanging sleeve to my Storm at Sea quilt so that my parents can finally hang it up in their beach house.

I have a crazy busy week at work this week, but hopefully after this week I will finally be able to move everything out of my quilting room by this weekend and will get my mojo back.

Wednesday, October 10, 2012

WIP Wednesday: MSM Swap Pillow Cover

This week I've been working on my Modern She Made swap project. I'm making a pillow cover for my partner.
I started with this selection of low-volume prints, mainly text prints, for the background. 
I then cut a whole bunch, okay 14, of 1.5" strips and sewed them into pairs.
I subcut those strips into 1.5" sections.  I turned these into four patches and slowly began piecing the background of the pillow together.
Slowly the background began to take shape.  I love how the Route 66 shows up well here.  It's a fun little aspect of the background.
And after more cutting of 1.5" squares for the colored border, the top is almost done.  I just need to piece and applique a leaf to go in the center of that frame.  You'll notice the HSTs in each corner of the colored frame.  That's to meet the requirement of the swap to have at least one triangle in your item. 

This pillow cover will finish at 20" square.  Right now it has a total of 404 pieces of fabric that have been cut and sewn back together.  Sometimes I think we, as quilters, are crazy.  But, I love it and wouldn't change a thing. 

WIP Wednesday at Freshly Pieced


Thursday, October 4, 2012

Dazzling Diamonds Class

On November 18th I will be teaching my Dazzling Diamonds quilt at Quilter's Way in Acton.
This class will teach my paper piecing technique and will show you how to make the best use of secondary designs in your projects.

The class runs from 12-5 and is just $45.  This price includes the Dazzling Diamonds pattern.

If you're interested you can call Quilter's Way or sign up here.  If you're in the area and want to make a cute holiday gift, sign on up!  I hope to see you there.